
Gracias a sus sistemas complejos y su interfaz tradicionalmente complicada, la serie Monster Hunter tiene fama de ser densa y poco atractiva. Aunque Monster Hunter Rise simplifica muchos elementos para hacerlo más acogedor que las entregas anteriores de la serie, aún puede resultar un poco abrumador, especialmente para los cazadores novatos que recién se lanzan por primera vez. Si eres nuevo en Monster Hunter, hemos reunido algunos consejos para principiantes que te ayudarán en Monster Hunter Rise, así como algunos consejos avanzados que debes tener en cuenta una vez que hayas dominado los conceptos básicos.
Tabla de contenidos [ ocultar ]
- Consejos para principiantes
- Misiones de aldea vs. Misiones centrales
- Siempre toma una comida antes de una misión
- Tomar artículos de la caja de suministros
- Cargar submisiones
- Pon a tus compañeros de repuesto a trabajar
- Pruebe armas en el área de entrenamiento
- Utilizar la vida endémica
- Consejos avanzados
- Dominando el Wirebug
- Mezcla abigarrada
- Mejora tus habilidades de cambio
- El gran bicho de alambre
- Montar wyvern
Consejos para principiantes
Misiones de aldea vs. Misiones centrales
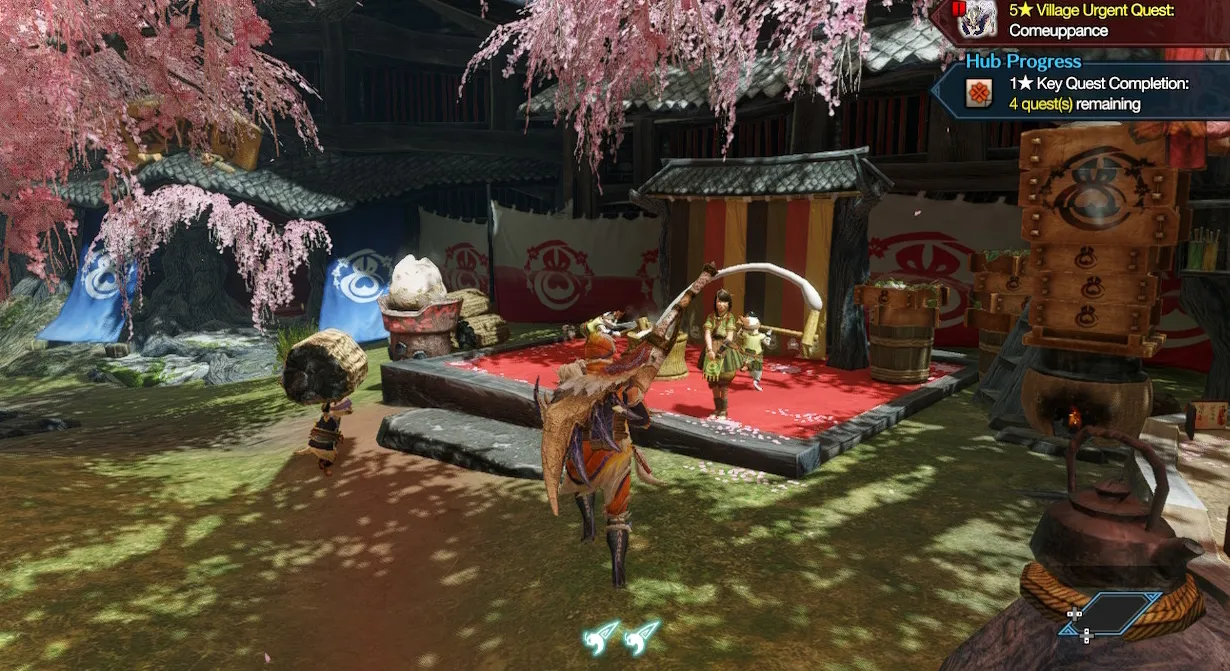
Como en juegos anteriores de Monster Hunter, hay dos caminos de progresión en Monster Hunter Rise: Village Quests y Hub Quests. Si eres nuevo en la serie, es importante que conozcas la diferencia entre ellos antes de comenzar tu aventura.
Village Quests son las misiones de “historia” de Monster Hunter Rise. Los aceptas de Hinoa en el centro de Kamura Village y los completas para avanzar en la narrativa. Estas misiones solo se pueden jugar en solitario y están diseñadas para aclimatarte al juego, por lo que puedes considerar Village Quests como el modo para un jugador de Monster Hunter Rise.
Hub Quests, por otro lado, son las misiones multijugador de Monster Hunter Rise. Estos son asignados por Minoto, quien está estacionado en el Centro de reunión en la parte occidental de Kamura Village (justo después de la tienda de té de Yomogi). También puedes embarcarte en Hub Quests solo si lo prefieres, pero dado que están destinadas a varios jugadores, serán más desafiantes que las Village Quests normales si las intentas solo.
Una vez que hayas completado una cantidad suficiente de misiones clave (misiones importantes que se indican en la lista de misiones mediante un ícono al lado de su nombre), se abrirá una misión urgente. Completar la misión urgente te llevará al siguiente rango de cazador, lo que a su vez abrirá una nueva selección de misiones para realizar y monstruos aún más desafiantes para cazar.
Tenga en cuenta que su rango de aldea es independiente de su rango de centro; tu progreso en uno no se transferirá al otro, por lo que deberás aumentar cada rango de cazador por separado. Sin embargo, si te concentras estrictamente en completar las misiones de la aldea, desbloquearás una prueba de licencia especial una vez que alcances el rango de cazador 4. Completar esta misión aumentará automáticamente tu rango central al siguiente nivel, incluso si no la has completado. ninguna misión central todavía. Sin embargo, las pruebas de licencia especiales solo están disponibles si su rango Hub es considerablemente más bajo que su rango Village.
Siempre toma una comida antes de una misión
Antes de emprender una misión, es importante detenerse en la cantina y comer algo, ya que una comida rápida puede marcar la diferencia entre el éxito y el fracaso. Hay dos tiendas de té en Monster Hunter Rise, una en la parte occidental de Kamura Village y otra dentro de Gathering Hub, pero ambas sirven el mismo plato: Bunny Dango. Puedes seleccionar tres sabores de dango por brocheta, y cada uno tiene la posibilidad de otorgarte un beneficio temporal para la misión que estás a punto de emprender, por lo que es un buen hábito pedir un plato antes de embarcarte en una cacería.
Los beneficios que obtienes al comer Bunny Dango pueden variar desde resistencia o salud adicionales hasta una mayor probabilidad de ganar más dinero o recolectar materiales adicionales de la misión. El juego mostrará claramente el porcentaje de posibilidades que tiene un determinado beneficio de activarse después de comer, por lo que querrás pedir una mezcla de diferentes sabores y potencialmente obtener múltiples beneficios. A medida que avanzas en el juego, la cantina comenzará a almacenar sabores de dango adicionales con diferentes atributos y beneficios, por lo que es una buena idea adaptar tus selecciones de comida al entorno que estás visitando y al monstruo que estás cazando.
Tomar artículos de la caja de suministros
Cada lugar al que viajas para una misión cuenta con un campamento base, donde encontrarás un par de servicios útiles, como una tienda de campaña y una caja de suministros. Esto último es especialmente importante, ya que contiene varios elementos que te ayudarán en tu misión, incluidos medicamentos de primeros auxilios (buenos para restaurar la salud) y raciones (buenos para aumentar temporalmente tu indicador de resistencia). Siempre es una buena idea consultar la caja de suministros y llevar algunos artículos adicionales antes de comenzar tu misión, ya que son completamente gratuitos y se pierden una vez finalizada la misión; solo recuerda compartir los suministros con otros cazadores de tu grupo.
Cargar submisiones
In addition to standard quests, Hinoa and Minoto present a list of optional subquests for you to fulfill. These are additional objectives to work toward while you go about completing regular missions, ranging from harvesting a specific number of materials to slaying certain kinds of monsters, and they’re a great way to earn some extra resources as you play.
In the early going of the game, you can have up to five active subquests at a time. You’ll always want to have a full slate of them underway, as you’ll often complete their objectives just through the regular course of gameplay, and the rewards for these quests often include Kamura Points and Armor Spheres. The latter are especially valuable as they can be used to upgrade pieces of armor, so be sure to load up on subquests as often as you can.
Put Your Spare Buddies To Work
While only two buddies can accompany you on a quest at a time, you can recruit many more additional companions by speaking to Iori at the Buddy Plaza. Even if you don’t intend to bring them along with you on hunts, it’s a good idea to have a nice pool of reserve buddies, as you can send spare Palamutes and Palicoes off on their own gathering quests with the Meowcenaries and the Argosy.
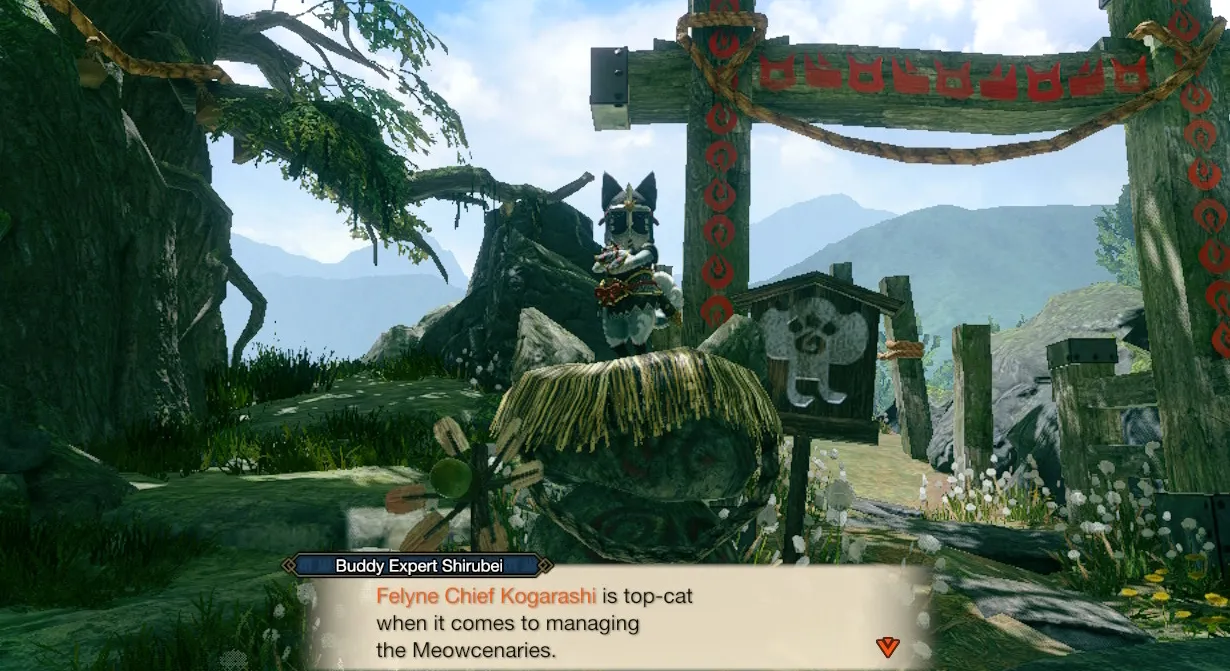
Once the Meowcenaries are unlocked early on in the story, speak to Felyne Chief Kogarashi in the Buddy Plaza to make use of their services. For a small fee of Kamura Points, you can send a squad of four reserve buddies out on a quest. The Meowcenaries can be deployed along one of several gathering routes, each of which will yield different kinds of materials. After you’ve selected the route that appeals to you, the squad will depart, bringing items back after each quest you finish.
The Argosy works similarly. Once it’s unlocked, speak to Rondine in the Buddy Plaza and you can ship a buddy off to barter for specific types of items. Additional resources are always handy in Monster Hunter, so if you’ve got some spare companions just sitting around, be sure to put them to work.
That isn’t the only helpful service you’ll find at the Buddy Plaza. You can also easily level up any spare companions at the Buddy Dojo. Speak to Shirubei the Palico, and you’ll be able to leave up to six buddies at the dojo at a time for training. Each training session will last as long as one quest, and once the training is complete, the buddies will level up and potentially learn new skills, making this a quick way to raise any extra Palamutes and Palicoes you have in your reserve list.
Try Out Weapons At The Training Area
Monster Hunter Rise features 14 different weapon types, each of which has its own distinct feel and moveset. If you’re new to the series, it can be overwhelming figuring out which of these weapons is right for you, but the game makes it a bit easier to decide by letting you test them out in the new training area.

While Hinoa.webpts you a long sword shortly after you begin the game, you’ll find one of each weapon type waiting for you in your item box right from the outset, giving you a chance to try them all out at the training area. You can access the area from the boat in the Buddy Plaza, and it features a mechanical training dummy called the Toadversary that you can spar against. The Toadversary’s settings and AI are adjustable, so you can tweak its attack pattern as needed, making this a great way to familiarize yourself with the game’s different weapons before you bring them on an actual hunt.
The training area is also a great place to practice using the Wirebug, Monster Hunter Rise’s signature innovation. Not only can you use the Wirebug to launch yourself toward a monster and pull off Silkbind attacks, but it’s also useful for reaching elevated areas around the game’s different locales. The training area is bordered by high cliffs, so take some time to scale them to really get a handle on the Wirebug.
Utilize Endemic Life
Each locale in Monster Hunter Rise is home to a diverse array of flora and fauna, including what the game calls endemic life. These critters come in many varieties and confer some helpful benefits during your quest; pick up the clothfly, for instance, and you’ll gain a temporary defense boost, while the vigorwasp will restore some of your health.

Some endemic life can even be used to gain the upper hand in battle. For example, the Tricktoad releases a scent that draws another monster’s attention to it, making it a great decoy to activate when a monster is bearing down on you. Be on the lookout for all the different kinds of endemic life as you explore each area in Monster Hunter Rise and utilize them to your benefit.
Advanced Tips
Mastering The Wirebug
As briefly touched on, the Wirebug is an important new element in Monster Hunter Rise, and you’ll come to rely on it frequently when playing. This versatile tool makes traversal feel much quicker and more freeing than previous Monster Hunter games. When your weapon is sheathed, you can use the Wirebug to launch yourself into the air at an angle (by pressing ZR and X) or straight ahead (by pressing ZR and A). You can also use the Wirebug to initiate wall-running. Launch yourself at a wall, and your character will automatically run across it when you hold the run button down. This depletes stamina very quickly, however, and your character will do a fancy leap off the wall once your stamina gauge runs out.
When your weapon is drawn, you can use the Wirebug to execute Silkbind attacks–flashy special moves that will deal some serious damage to monsters. Each of the game’s 14 different weapon types has its own distinct Silkbind attacks, and they’ll come in handy in the heat of battle. The Wirebug can also be used to break your fall; if you get knocked back by a monster’s attack, press ZR and B to quickly regain your footing. It’s a lot to remember, but with a little practice, it’ll soon become second nature.
Motley Mix It Up
In addition to Bunny Dango, the canteens in Kamura Village serve up another dish called a Motley Mix. Ordering this allows you to cook up spare materials like raw meat into consumables such as rations. Not only is this a good way to recycle extra items you may have, but Yomogi will also give you a bonus each time you order the Motley Mix: a Dango Ticket. You can redeem these for a free order of Bunny Dango, and you’ll have an increased chance that a buff will activate when you use a ticket–which will come especially in handy as you climb up the Hunter Ranks and take on fiercer monsters.
Switch Up Your Switch Skills
As you progress through Monster Hunter Rise, you’ll unlock Switch Skills. These are alternate attacks that you can swap in and out of your moveset, not unlike the Hunter Arts in Monster Hunter Generations Ultimate. Each weapon has a different set of Switch Skills that you’ll unlock as you progress through the game, and they can vary pretty dramatically, so be sure to experiment with them often to find the one that best suits your playstyle.
The Great Wirebug
In addition to your two standard Wirebugs, Monster Hunter Rise features a larger variant called the Great Wirebug. You’ll periodically receive a handful of Great Wirebugs from Senior Hunter Hanenaga in Kamura Village, and they can be used to reach remote areas around the game’s different locales. Place a Great Wirebug in a spot where you see jewel lilies glowing and it will launch you much higher than a regular Wirebug could, often to an otherwise inaccessible part of the map. These out-of-reach areas often contain something of note, such as rare materials to harvest, so remember to make use of Great Wirebugs anytime you see the opportunity.
Wyvern Riding
One of Monster Hunter Rise’s key new features is Wyvern Riding, which gives you the ability to hop on top of a monster and temporarily control it. There are two primary ways to set a monster up for Wyvern Riding: You can connect with enough Silkbind attacks until it’s ensnared, or you can lure it into a fight with another monster.
Una vez que un monstruo esté debilitado y brillante, presiona A cuando esté cerca de él para iniciar Wyvern Riding. Esta es una táctica importante a tener en cuenta al cazar monstruos; No sólo podrás lanzar a la bestia que estás montando contra una pared, causándole mucho daño, sino que también podrás ordenarle que ataque a otro monstruo. Esta es una buena manera de ablandar a los enemigos más duros y los monstruos que atacas mientras Wyvern Riding dejarán caer materiales adicionales al suelo, lo que será útil al crear equipos.
Monster Hunter Rise ya está disponible en Nintendo Switch, con una versión para PC disponible en 2022. Tenemos otras guías para ayudarte, incluida una explicación para amigos y consejos para luchar contra todos los monstruos del juego, así que asegúrate de Échales un vistazo antes de emprender tu aventura.
Guías y noticias de Monster Hunter Rise
- Cómo matar a todos los monstruos
- Consejos esenciales para principiantes y avanzados
- Cómo configurar el modo multijugador
- + Mostrar más guías y enlaces de noticias de Monster Hunter Rise (7)
- Explicación de armas: ¿qué arma es adecuada para usted?
- Las mejores armas para principiantes
- Buddy Explainer: How Palamutes And Palicoes Work
- Rampage Quest Tips And Explainer
- Amiibo Guide
- All The Best Armor We’ve Crafted (So Far)
- Monster Hunter Rise Review
Publicaciones Relacionadas:
- Misiones de Fortnite Sledgehammer: cómo derrotar al Boss Cube Monster, encontrar piezas de Cube Monster (1)
- Guía de reliquias de Riders Republic: cómo obtener todos los deportes secretos (1)
- Cómo desbloquear la hoz y el martillo en CoD: Black Ops Cold War y Warzone (1)
- Casas de jugadores de Forza Horizon 5: todas las ubicaciones, precios y ventajas (1)